Hello World: your first Web App with Angular
Step 1 : Install Wakanda
First, download and install Wakanda Enterprise Edition
TIPS:
- Wakanda supports Windows 10, Windows Server 2016, macOS 10.11 or above and Ubuntu 16.04 LTS
Now we can start our HelloWorldWeb project.
Step 2: Choose : mobile or web app, angular or angular2 ?
We can choose the kind of app we want to create : mobile, web or both.
Here we want to create an Angular web app.
To do this:
-
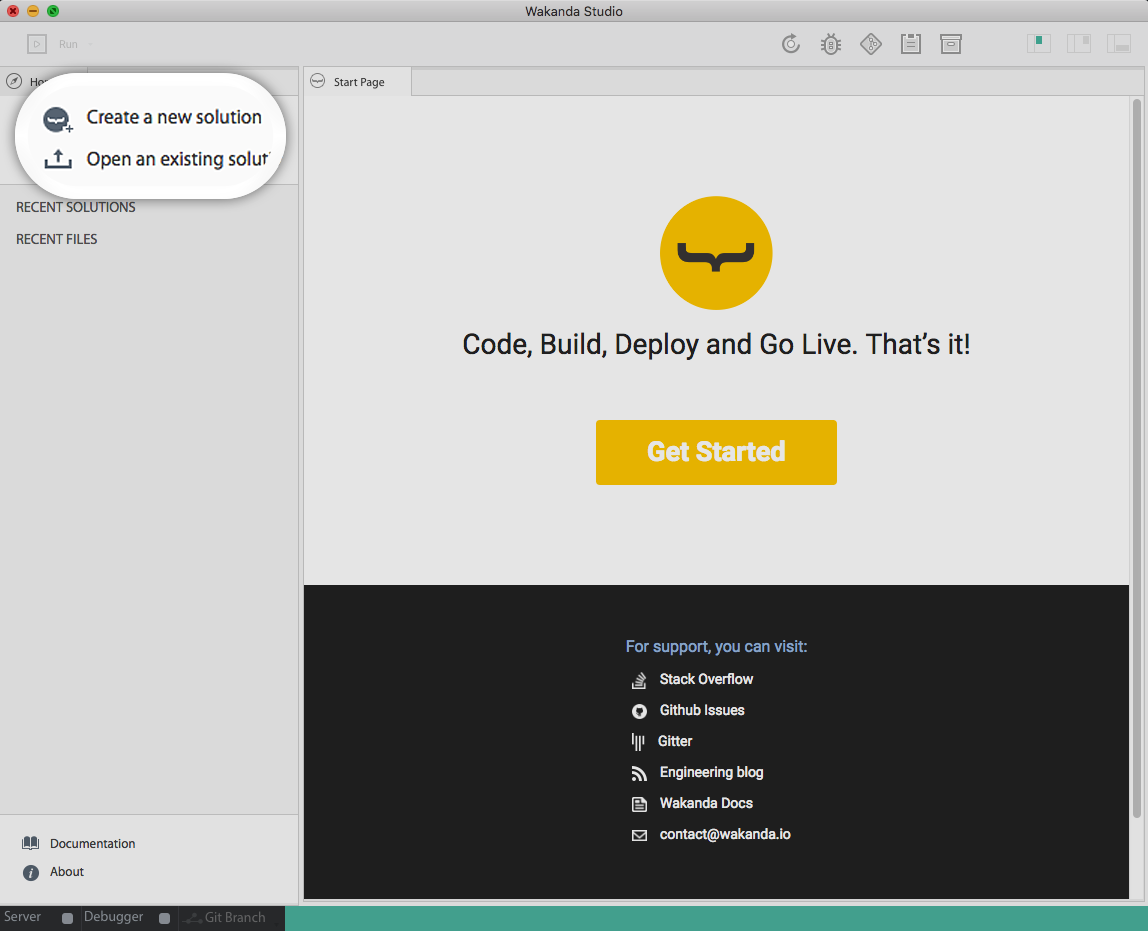
open the studio

-
click on “Create a new solution”:
Which opens the template selection page:
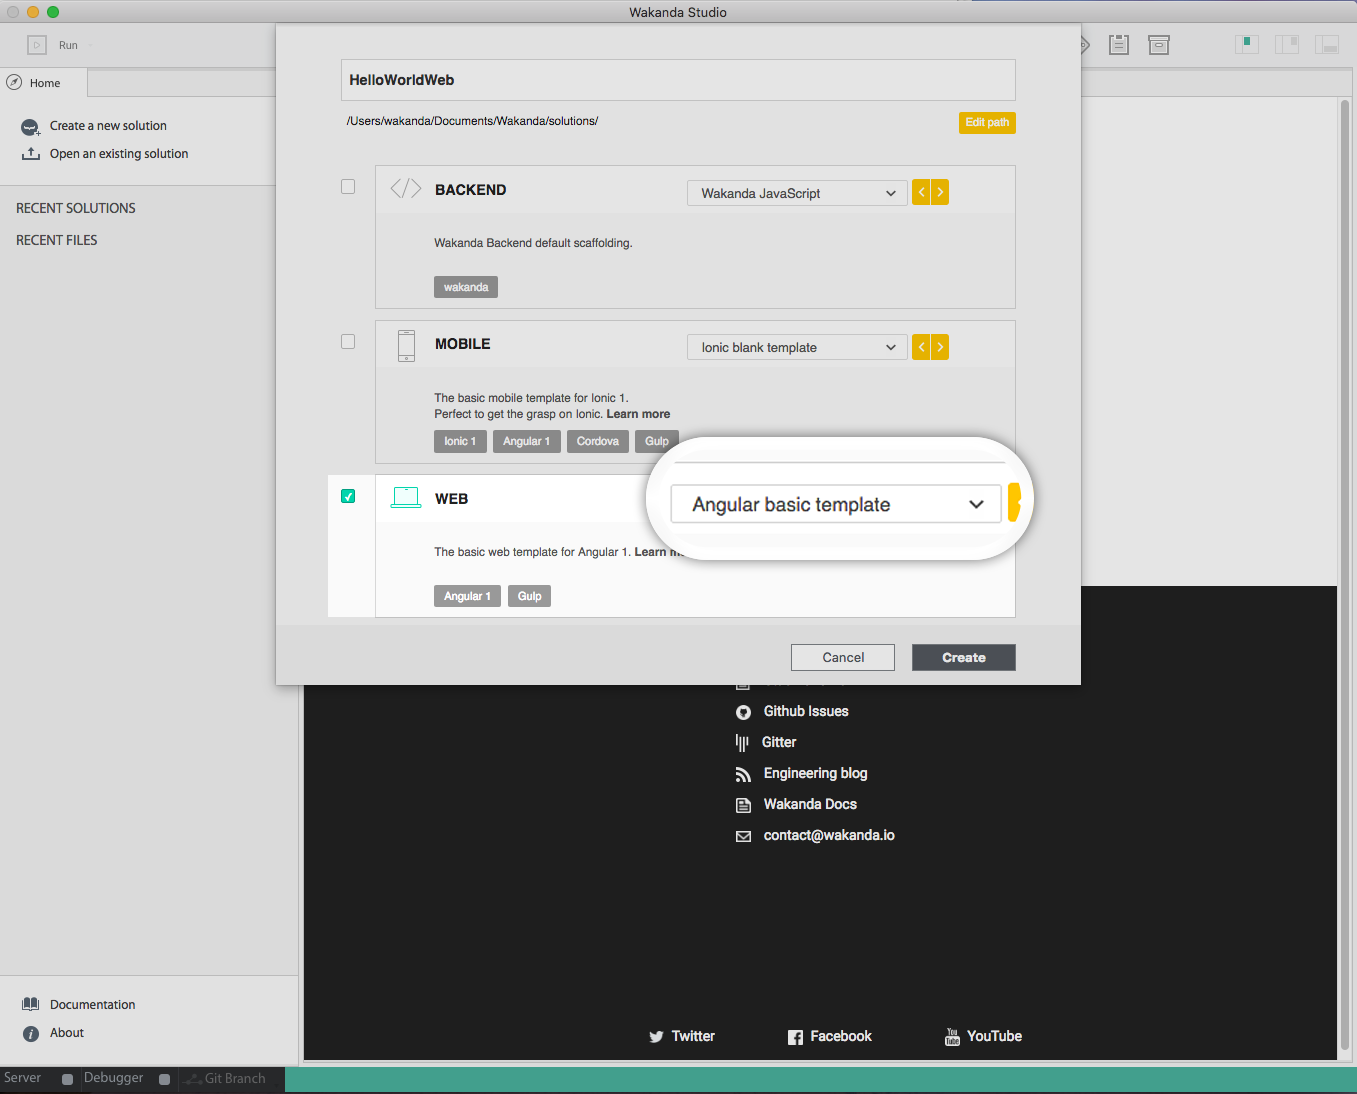
For a Hello World we don’t need a back-end. So, select only web, to have a web front-end, with the Angular1 template.
Name your app HelloWorldWeb, and click on Create
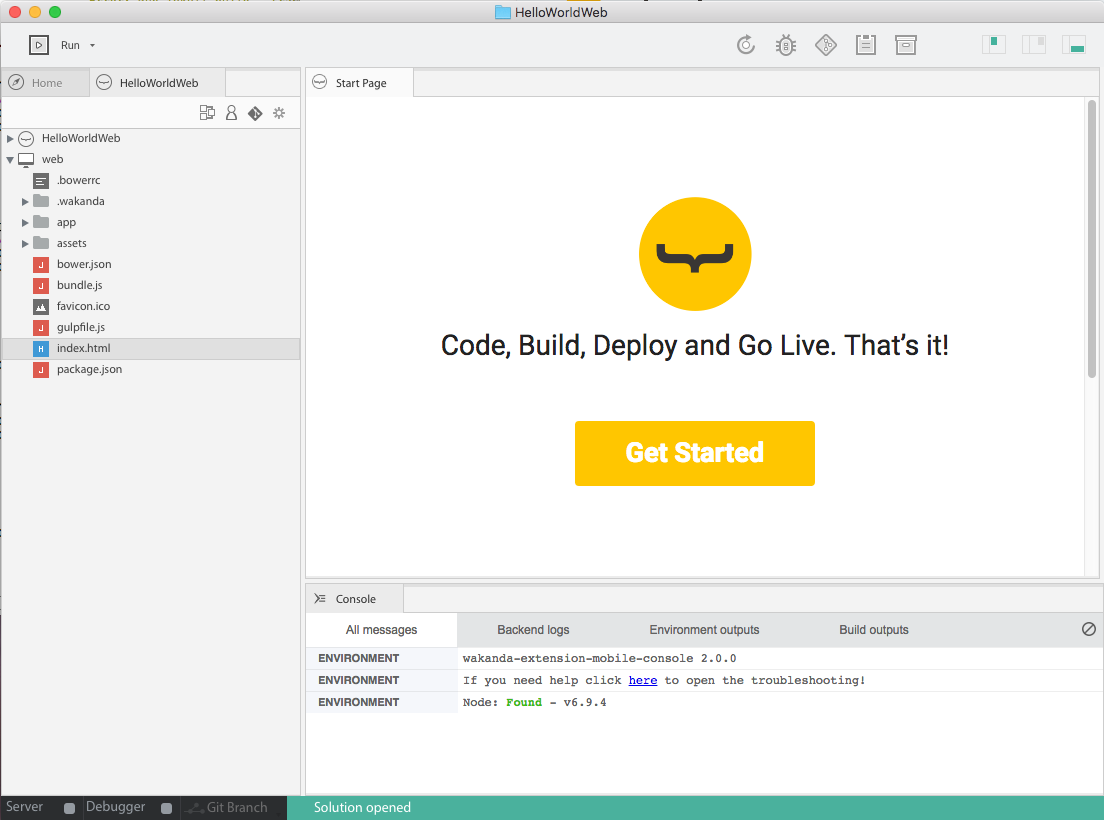
In the left panel, a tab with the name of your solution HelloWorldWeb is now openned.
You can find two folders:
- HelloWorldWeb: it contains the files of your solution.
- web: it contains your web front-end project structure.
TIPS:
- You can create multiple web (or mobile) front-ends by right-clicking on the name of your solution (New>Project)
For our HelloWorldWeb we’re only going to work in the web folder.
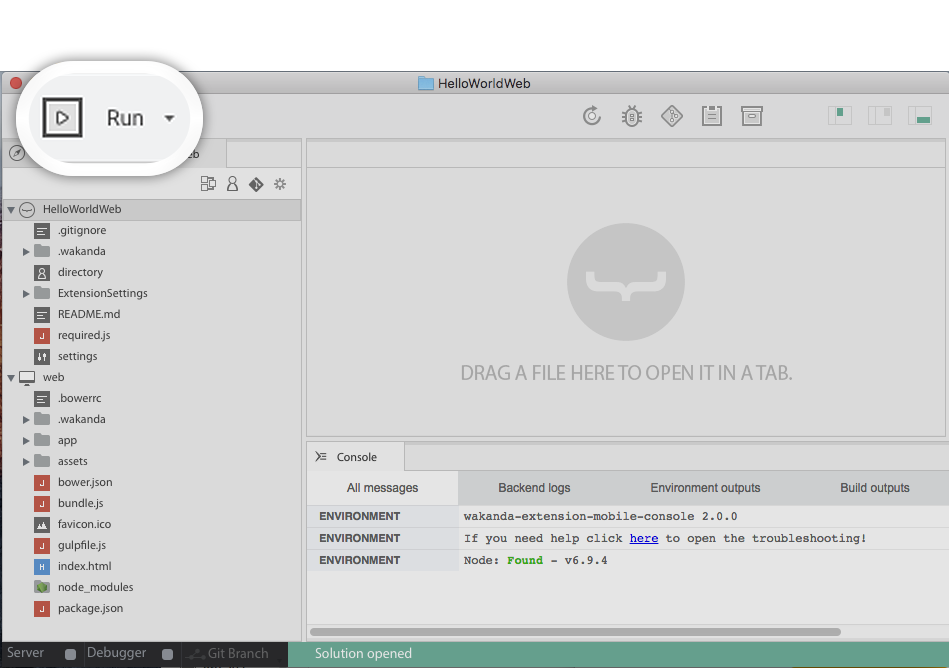
Step 3: Run your web application
First let’s have a look to our web template.
Click on the Run toolbar button:

Step 4: Code your Angular application
Let’s have a look to our web project structure : as for a classical Angular app file structure, you have the index.html file and folders app and assets` at the root.
index.htmlhandles loading in all the libraries and Angular elementsassetsis very standard: it contains all the shared assets as css, images, librairiesappis the core of your app. It contains all your controllers.
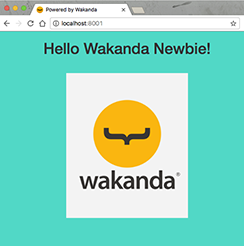
A simple change in web/index.html and I have my HelloWorld done:
<h1>Hello Wakanda Newbies!</h1>
To make it more visual, you can change the background color in its css file web/assets/css/style.scss:
body {
    background-color: #51D8C6;
}
#wakanda-logo {
    margin: 0;
    max-height: 50%;
    max-width: 50%;
}
Tips: The preview is automatically reloaded after each saving.